

WHEN TO PLANT SPRING BULBS? A GARDENER'S GUIDE
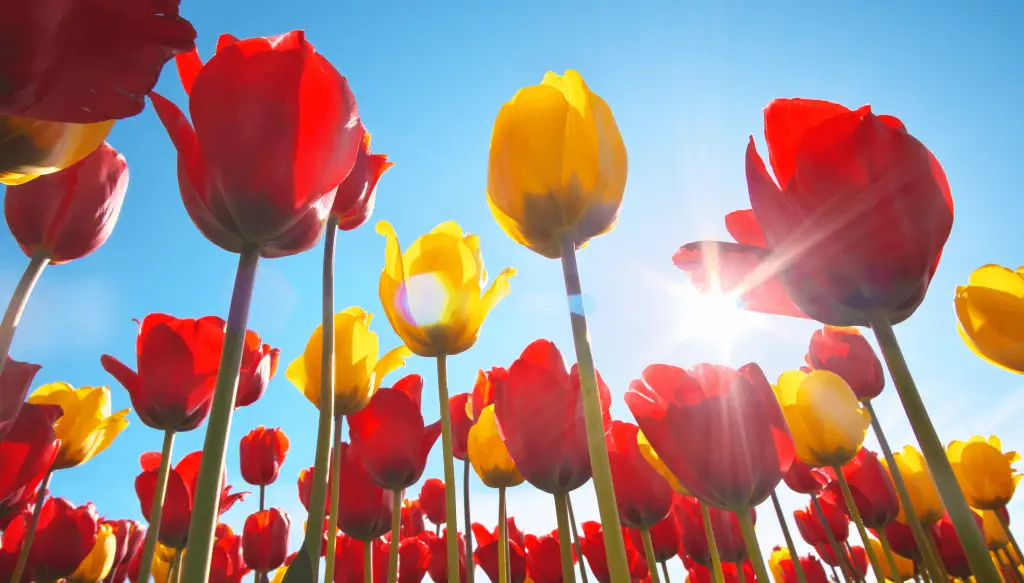
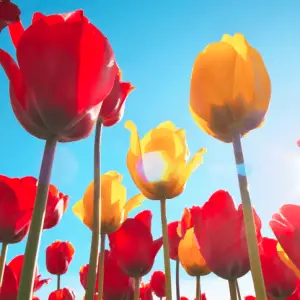
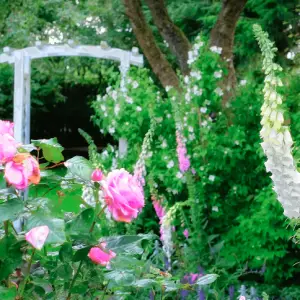
Spring bulbs are a gardener’s secret weapon for a vibrant and colourful garden that awakens with the first signs of warmth. From tulips and daffodils to crocuses and hyacinths, these bulbs provide an early burst of colour after the winter months. To enjoy a dazzling spring display, timing is crucial for purchasing and planting these bulbs. Here’s your comprehensive guide on when and how to plant spring bulbs for the best results.
Why Plant Spring Bulbs?
Spring bulbs are an essential part of the garden, offering several benefits:
- Early Colour: They bloom early in the season, filling the garden with colour before most other plants awaken.
- Low Maintenance: Once planted, they require minimal care and will often return year after year.
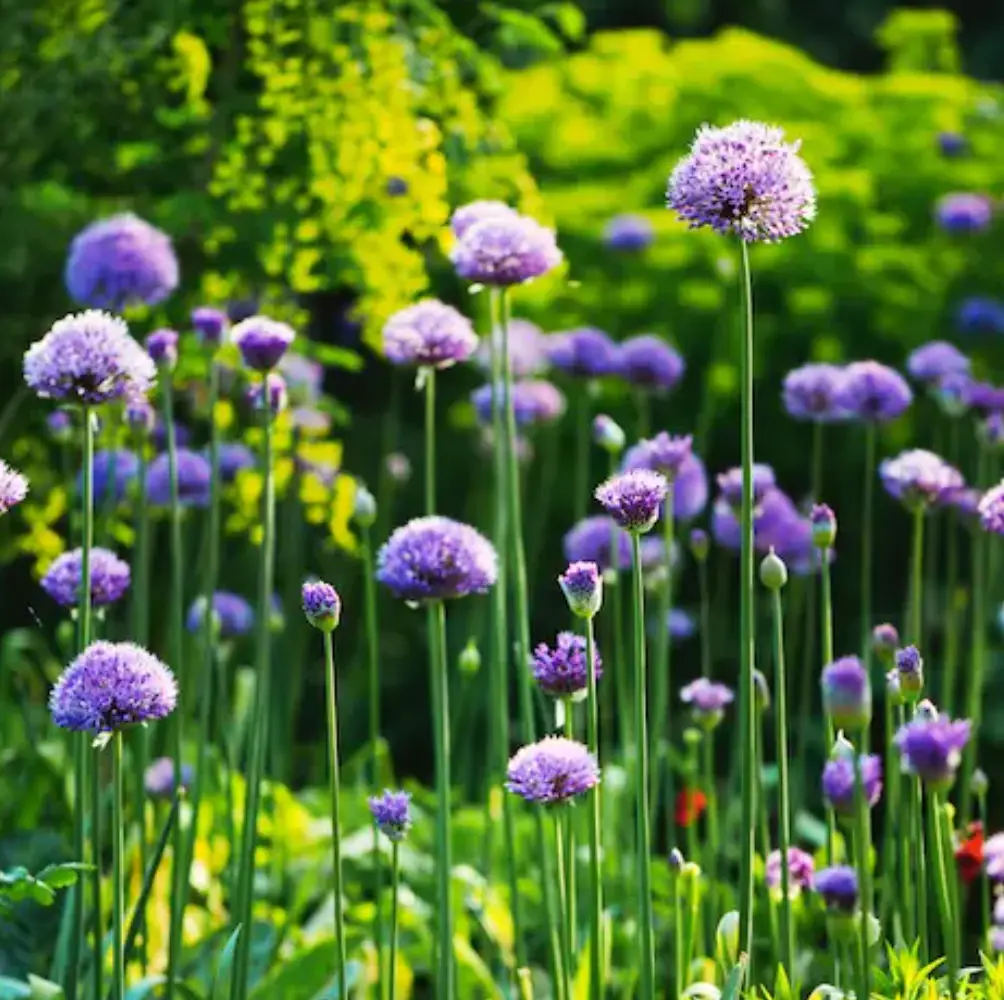
- Diverse Choices: There’s a wide variety of spring bulbs, allowing for diverse colours, shapes, and sizes in your garden.
Optimal Planting Time
1. Timing Based on Climate
The best time to plant spring bulbs depends on your local climate. Here’s a general guideline:
- Temperate Climates: Plant bulbs in mid to late autumn, typically between October and November. This allows the bulbs to establish roots before the ground freezes.
- Cold Climates: In regions with harsh winters, plant bulbs in early autumn, around September to October. This gives them ample time to root before the first hard freeze.
- Mild Climates: In areas with milder winters, bulbs can be planted as late as December or even early January. Ensure they have some cool period to break dormancy.
2. Soil Temperature
Soil temperature is a critical factor for bulb planting:
- Ideal Soil Temperature: Aim to plant bulbs when the soil temperature drops to around 10°C (50°F). This typically corresponds to the onset of cooler autumn weather.
- Testing Soil Temperature: Use a soil thermometer to check the temperature at a depth of 6 inches (15 cm). If the temperature is consistently between 4°C and 10°C (4o°F and 50°F), it’s the perfect time to plant.
3. Frost Timing
Consider the timing of the first frost:
- Before the First Frost: Plant bulbs about 6-8 weeks before the first expected frost date. This allows bulbs to root without the risk of frost damage.
- After the First Frost: If you miss the ideal window, bulbs can still be planted until the ground freezes. However, avoid planting in frozen or waterlogged soil.
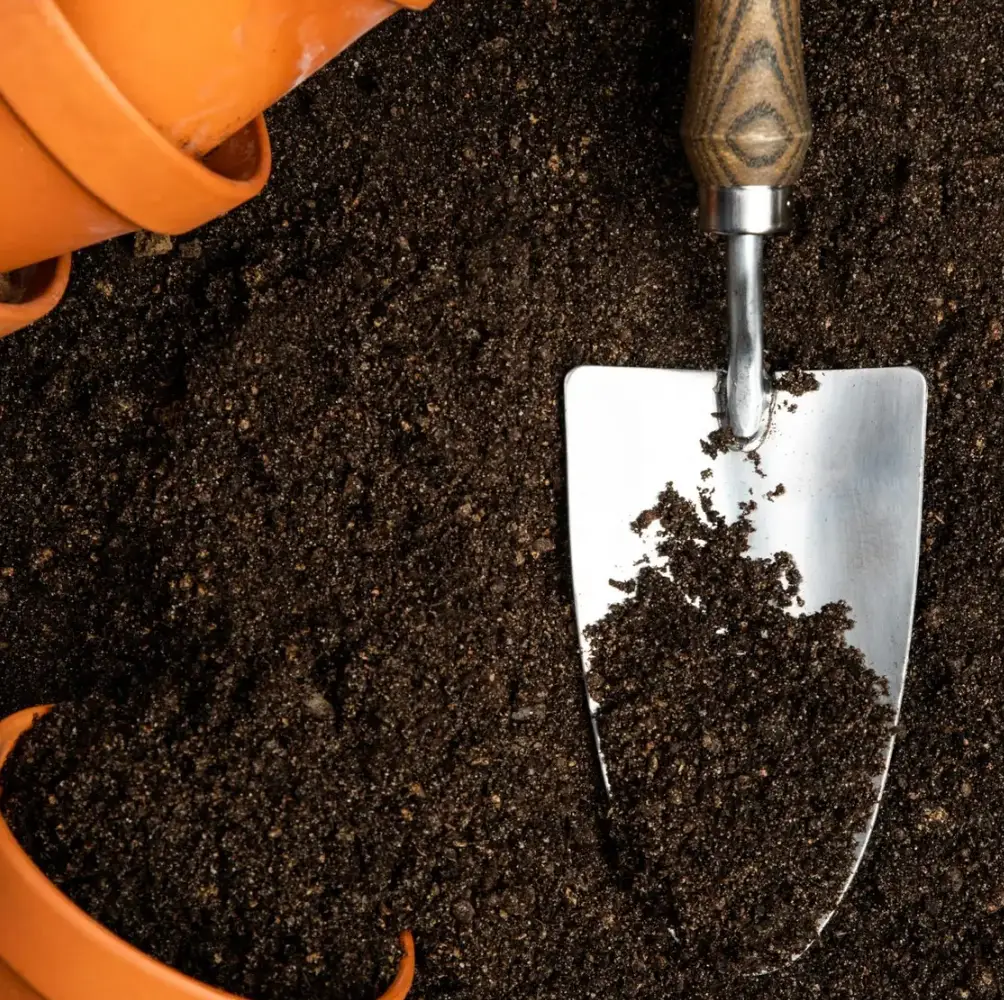
Preparing the Soil
Healthy soil is key to successful bulb growth. Follow these steps:
1. Soil Testing
- pH Level: Test the soil pH and aim for a slightly acidic to neutral range (6.0 to 7.0). Most spring bulbs prefer this pH level.
- Nutrients: Check for essential nutrients like phosphorus and potassium. These support root development and flowering.
2. Soil Improvement
- Drainage: Ensure the soil is well-draining to prevent bulbs from rotting. Add organic matter like compost or well-rotted manure to improve soil structure.
- Aeration: Loosen the soil to a depth of 12-15 inches (30-38 cm) to facilitate root growth and drainage.
Planting Process
1. Depth and Spacing
Each bulb type has specific planting depths and spacing requirements:
- General Rule: Plant bulbs at a depth of 2-3 times their height. For example, a 2-inch (5 cm) bulb should be planted 4-6 inches (10-15 cm) deep.
- Spacing: Space bulbs about 2-4 inches (5-10 cm) apart. Larger bulbs like tulips need more space, while smaller bulbs like crocuses can be closer together.
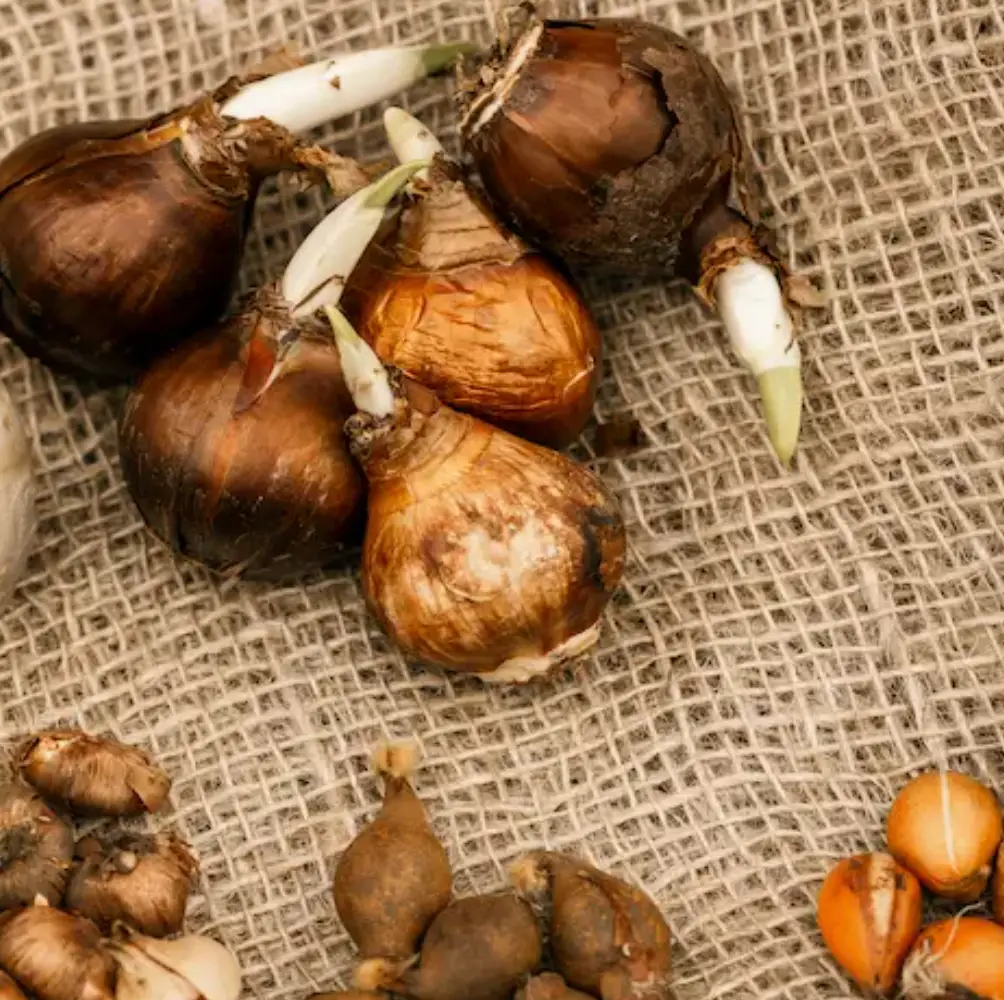
2. Orientation
- Pointy End Up: Most bulbs should be planted with the pointed end facing up. This is where the shoot will emerge.
- Exceptions: Some bulbs, like anemones, have irregular shapes. In such cases, follow the supplier’s instructions for orientation.
3. Watering
- Initial Watering: Water the bulbs thoroughly after planting. This helps settle the soil and initiates root growth.
- Ongoing: After the initial watering, ensure the soil remains moist but not waterlogged. Over-watering can lead to bulb rot.
Caring for Planted Bulbs
1. Mulching
- Insulation: Apply a layer of mulch, such as straw or shredded leaves, to insulate the soil. This helps regulate temperature and moisture.
- Depth: Aim for a mulch layer about 2-3 inches (5-8 cm) thick.
2. Fertilising
- Spring Boost: Apply a balanced fertiliser or bulb-specific fertiliser in early spring as the shoots begin to emerge. This supports healthy growth and flowering.
- Avoid High Nitrogen: High nitrogen fertilisers can promote leaf growth at the expense of flowers.
3. Pests and Protection
- Rodents: Squirrels and other rodents may dig up bulbs. Protect bulbs by covering the planting area with a wire mesh or using repellents.
- Disease: Monitor for signs of bulb diseases, such as rot or mould. Remove affected bulbs to prevent spread.
Popular Spring Bulbs and Their Specific Needs
Here are some popular spring bulbs and tips for planting them:
1. Tulips
- Planting Depth: 6-8 inches (15-20 cm)
- Spacing: 4-6 inches (10-15 cm)
- Special Tip: Plant in well-draining soil to prevent bulb rot.
2. Daffodils
- Planting Depth: 6 inches (15 cm)
- Spacing: 6 inches (15 cm)
- Special Tip: Daffodils are more rodent-resistant than other bulbs.
3. Crocuses
- Planting Depth: 3-4 inches (7-10 cm)
- Spacing: 2-3 inches (5-8 cm)
- Special Tip: Plant in clusters for a natural look.
4. Hyacinths
- Planting Depth: 6-8 inches (15-20 cm)
- Spacing: 4-6 inches (10-15 cm)
- Special Tip: Handle bulbs with gloves, as they can irritate the skin.
Conclusion
Planting spring bulbs is a delightful and rewarding gardening task that promises a burst of colour and life in your garden come springtime. By understanding the optimal planting times, preparing your soil correctly, and providing appropriate care, you’ll set the stage for a spectacular spring display. Happy planting! 🌷🌱
further down the lane